Setting up a virtual machine on Google Cloud Platform is relatively quick and easy, giving you access to powerful computing resources without the overhead of physical hardware.
Why use a virtual machine?
- Overcome the limitations of your local hardware: access more RAM, CPU cores, or storage than your laptop provides.
- Run different operating systems and easily test Docker containers in isolated environments.
- Cost-effective and portable: no dependence on university infrastructure, and you only pay for what you use.
The tricky part of cloud computing is actually setting up the networking and access to the VM; it’s a regular machine otherwise. In this tutorial, I will show you how to create the VM and configure firewall rules to access your VM from a browser using Google Cloud Shell.
The machine in this tutorial is used to track California’s reopening metrics for Santa Barbara county. This is a project that requires reliable, always-on infrastructure to automatically scrape daily COVID monitoring data without manual intervention, so hosting it on a Google Cloud VM is a perfect use case.
Sign up for Google Cloud Platform
Create a GCP account to get started. New users receive free credits to experiment with services.
⚠️ Watch out! GCP will delete your instances without warning once your billing trial period expires. Always back up important data.
Create your first VM instance
Step 1: Set up your project
- Create a new project in the GCP console, and make a note of the project ID (we will need this later)
- Enable billing for the project (required even with free credits)
Step 2: Launch Compute Engine
- Navigate to Compute Engine → VM instances
- Click Create instance
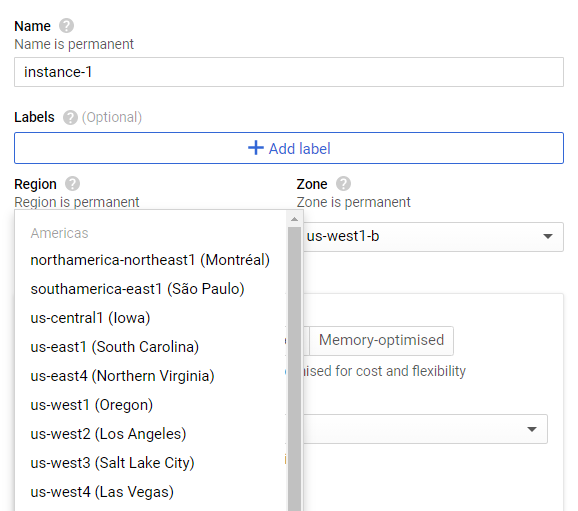
Step 3: Configure your VM
Region and Zone: Choose the most cost-effective region. Oregon (us-west1) typically offers the lowest prices.
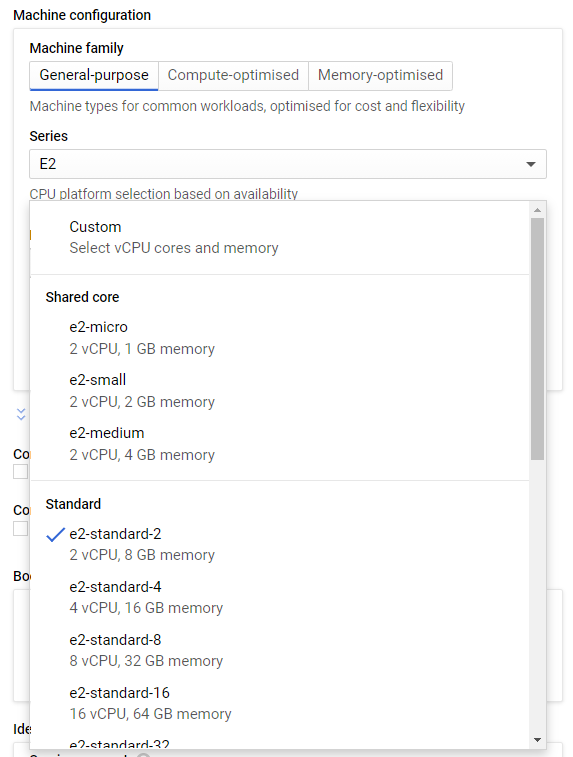
Machine Type: For development work, select e2-standard-2 which provides 2 vCPUs and 8 GB memory. This configuration handles most programming tasks while keeping costs reasonable.
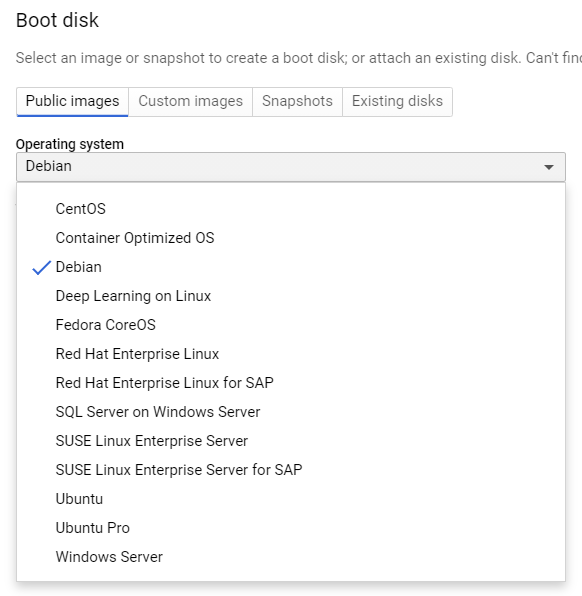
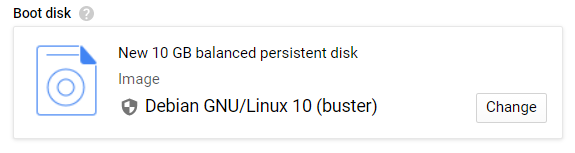
Boot Disk: Choose your operating system and storage:
- Debian is reliable for most use cases
- Allocate sufficient disk space upfront (you can expand later, but it requires repartitioning)
- Leave other settings as default, and make a note of your instance name (we will need this later; in this tutorial it is “instance-1”)
Networking: Leave default settings for now - we’ll configure firewall rules separately.
Set up firewall rules for browser access
To access web applications running on your VM, you need to configure firewall rules that allow inbound traffic from your client machine to the server. In this COVID scraping project, the server is your VM running the data collection scripts, and the client machine is your laptop or desktop where you’ll monitor the results through a web browser.
-
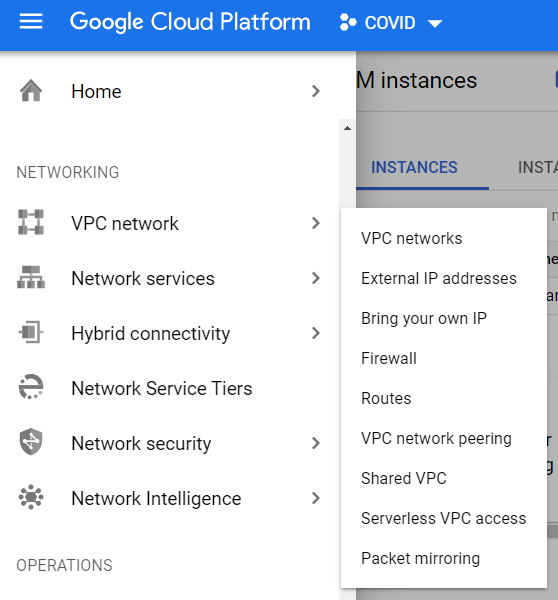
In the main navigation panel, go to Networking → VPC network → Firewall
➡️ Tip. Another way to access Firewall Settings without having to navigate through a million screens is by clicking on the vertical ellipsis on your instance and selecting “View network details” from the dropdown menu.

- Click Create Firewall Rule
- Configure the rule:
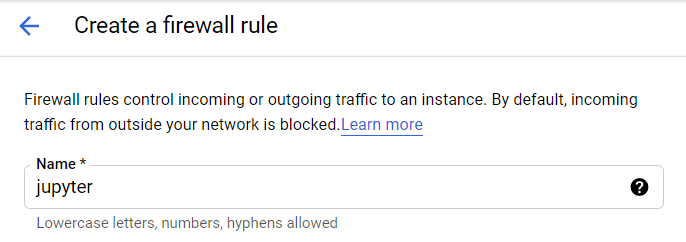
- Name: Choose a descriptive name (cannot be changed later)
- Targets: Select “All instances in the network”
- Source IP ranges: Enter
0.0.0.0/0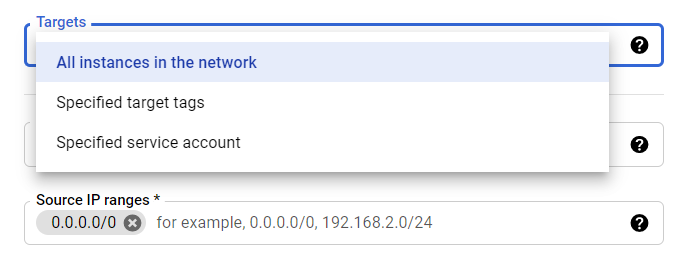
- Protocols and ports: Choose “Specified protocols and ports”
- Check TCP and enter ports
8888,8889(commonly used for Jupyter notebooks and development servers)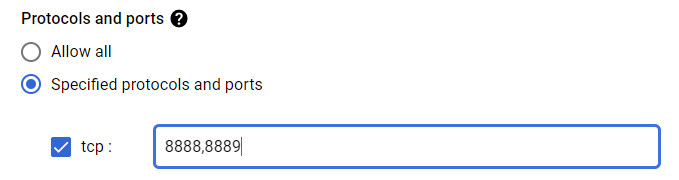
- Name: Choose a descriptive name (cannot be changed later)
- Leave everything else as default, and create the rule
For this project, we have created an ingress rule called jupyter (because the actual scraping and calculations will be done in Jupyter Lab) that allows incoming traffic from any IP address to reach the instance-1 VM on ports 8888 and 8889.

Congratulations! You’ve created your first VM, and successfully configured its firewall so that you can access it.
Connect to your VM
You now have a headless server, and you’ll interact with it through the command line. To connect, we’ll use SSH (Secure Shell), which creates an encrypted connection to your VM’s command line interface.
For this example, I’ll show you how to use Google Cloud Shell, which provides a browser-based terminal for accessing your VM without installing additional software.
SSH access using the Google Cloud Shell
-
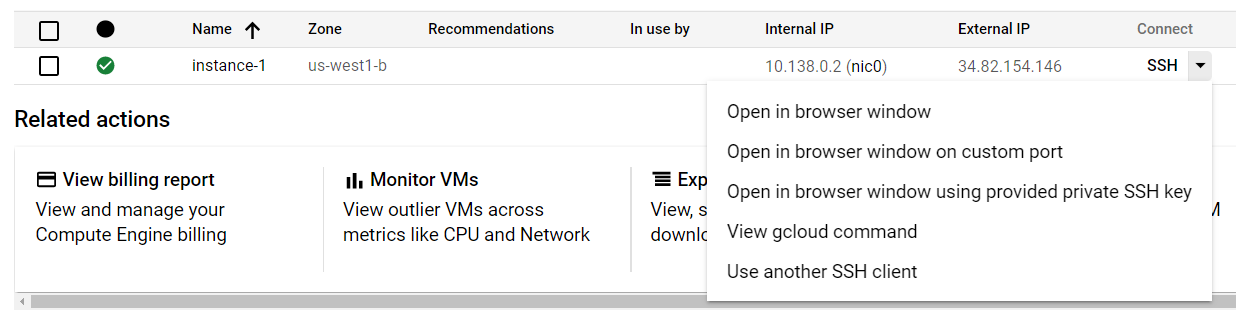
Return to Compute Engine → VM instances
📌 Tip. Pin Compute Engine to your side panel for quick access.
- Click the SSH button next to your instance and click “Open in browser window”
- In the terminal, run the following command (this authenticates and connects you to your specific VM instance):
gcloud beta compute ssh --zone "<the geographic zone you chose earlier>" "<your instance name>" --project "<your project ID (not name)>". For example, in this case, the command will begcloud beta compute ssh --zone "us-west1-b" "instance-1" --project "covid-287100".
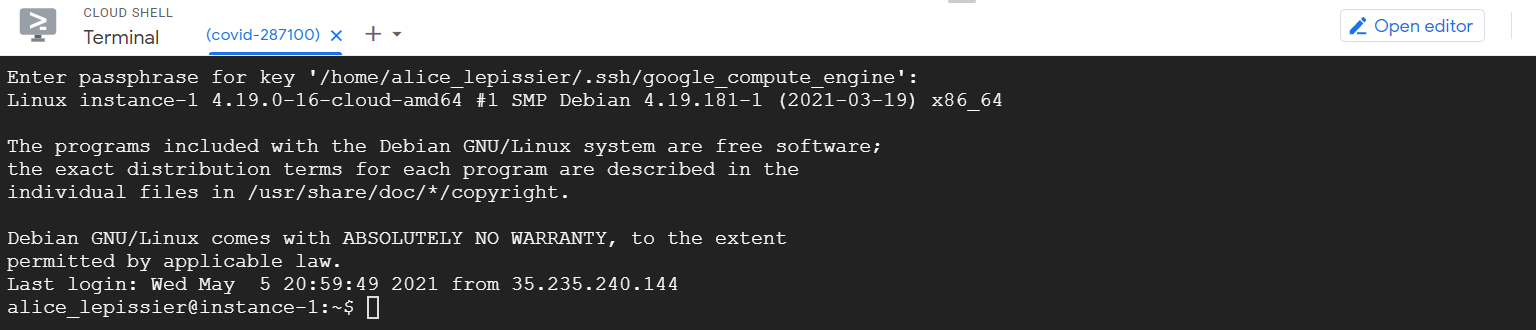
- Since this is your first connection, Google Cloud Shell will generate SSH keys. Create a passphrase when prompted (you can use your Google password or leave blank)
You’re now connected via SSH in Google Cloud Shell. To reconnect in future sessions, simply run the same gcloud beta compute ssh command.
Once connected, you’ll see a terminal prompt showing your-username@instance-name, confirming you’re working in your VM. The Cloud Shell browser tab will also display your project ID for verification. So, in this case, we land in the ~ directory of alice_lepissier@instance-1 in the GCP project covid-287100.
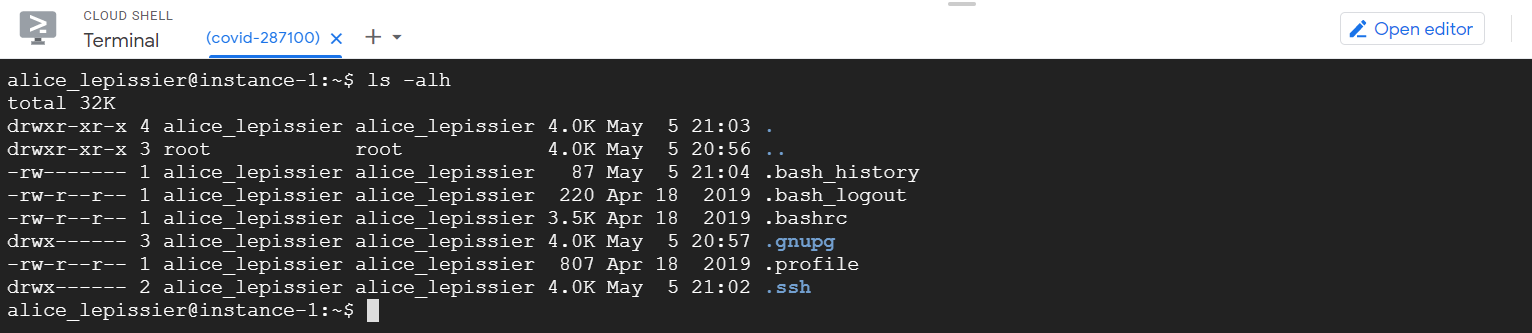
You can verify your SSH setup by running ls -alh 1 to list all files in your home directory. You should see a hidden .ssh directory containing your authentication keys.
Working in the command line
Once connected, you can:
- Install software packages
- Clone Git repositories with
git clone - Run Python scripts, compile code, or start web servers
And since your VM is always online, you don’t need to worry about server maintenance or spotty Wi-Fi connections: you’re hosting in the cloud with reliable infrastructure. This allows you to:
- Host entire applications on your compute engine instance
- Run jobs automatically using
cron
This is what the machine in this tutorial does: it runs daily scraping scripts to collect COVID monitoring data automatically.
💰 Cost-saving tip. If you don’t need always-on services (like automated cron jobs or web applications that require constant availability), take snapshots of your VM configuration and delete the instance when not in use. You’ll only pay for storage costs instead of compute time, and can restore the VM later from the snapshot.
Result - check out the project
With your VM configured, you can install development tools or add Docker containers for more complex applications. In this tutorial, the VM is now ready for the next steps: installing Python packages, setting up Jupyter Lab, and configuring cron jobs to automatically scrape data.
This particular project scraped the daily reopening metrics for Santa Barbara County from the California Department of Public Health. The website was automatically scraped every day to track California’s progress toward safe reopening, demonstrating how a cloud VM can reliably handle scheduled data collection tasks.
-
This command means “list all files/folders in this directory, including hidden ones, with sizes printed in human-readable format”. ↩